


July 25, 2017
Over the last few years (this year especially) I began receiving that compliment that I always worked so hard towards! The one where others tell you that they can tell an image is yours even if you aren’t tagged or before they even see who posted it. As a photographer this is probably the biggest and greatest compliment I could ever receive. A compliment that lets me know I am standing on my own and not going with the flow or blending in with other photographers in the industry… something that can be really hard to do when there are hundreds of thousands to stand out against.
But it hasn’t always been this way. The first couples years of my business I not only struggled to stand out (I’ll save that for another blog post), but I struggled especially with editing consistently! I wasn’t sure how to go about it or where to begin. I would try preset after preset and none them ever felt right. Then I began trying different presents for each session, resulting in a super inconsistent editing style.
So why should you be editing consistently?
The number one reason I believe your editing should be consistent and cohesive is so that your clients know what to expect from you! When a client hires me they don’t have to worry about if they will get light and airy or dark and moody. When they hire me they know that they will receive bright, vibrant, colorful and warm images for whatever occasion it is that I am capturing!
Another reason to work towards consistency that is just as great as the one before is for recognition. When you establish a style for yourself you’ll begin to receive those compliments I mentioned in the beginning of this post. Your editing style slowly becomes a part of your brand and you begin to stand out from the crowd just a little more than before. You also create a sense of exclusivity simply because no one else could create or mimic your style! No one else could provide that client with the images and edits that you do because it is so specific to you and your business!
So how can you begin to edit consistently?
Let me first start with this, if you are in your first couples years of business as photographer don’t feel pressured to HAVE to establish what your style is right away. Although you may never guess it now I started out as a moodier photographer with dark deep greens and maybe one notch underexposed. I loved this style and it came easy to me at first. Then I transitioned into hopes that’d I’d become light and airy because I saw so many successful photographers doing this. But neither of these felt right for me. I always felt like something was off. Now don’t get me wrong, there is NOTHING wrong with either of those styled I just mentioned. Nothing at all. If they are true to you and make your heart happy then go ahead and do that! But for me it wasn’t exactly what I wanted… for me, I wanted a happy middle ground. So I took both of the presets I had worked with and began to play, manipulate and change things that weren’t quite perfect. I changed most of the presets HSL sliders to desaturate blues because I hated cold tones and to bring up reds because that is what made me specifically happy!
For myself personally I only have two presets that I apply to every session or wedding I shoot. I have one color preset that I developed from an old VSCO preset I used (although it’s drastically changed now as it went from moody to bight and vibrant) and I apply that to every single image of anything I photograph. It doesn’t matter if it was inside, outside, raining or sunny, that preset is applied to every photo and then altered to fit the image or sessions need. Such as bringing up the shadows a bit more than normal if it’s inside. Or bringing down the highlights more than usual if it was shot at high noon on a sunny day. Whatever the case I am ensuring that my photos HSL sliders will always be the same numbers to create consistent tones throughout my work.
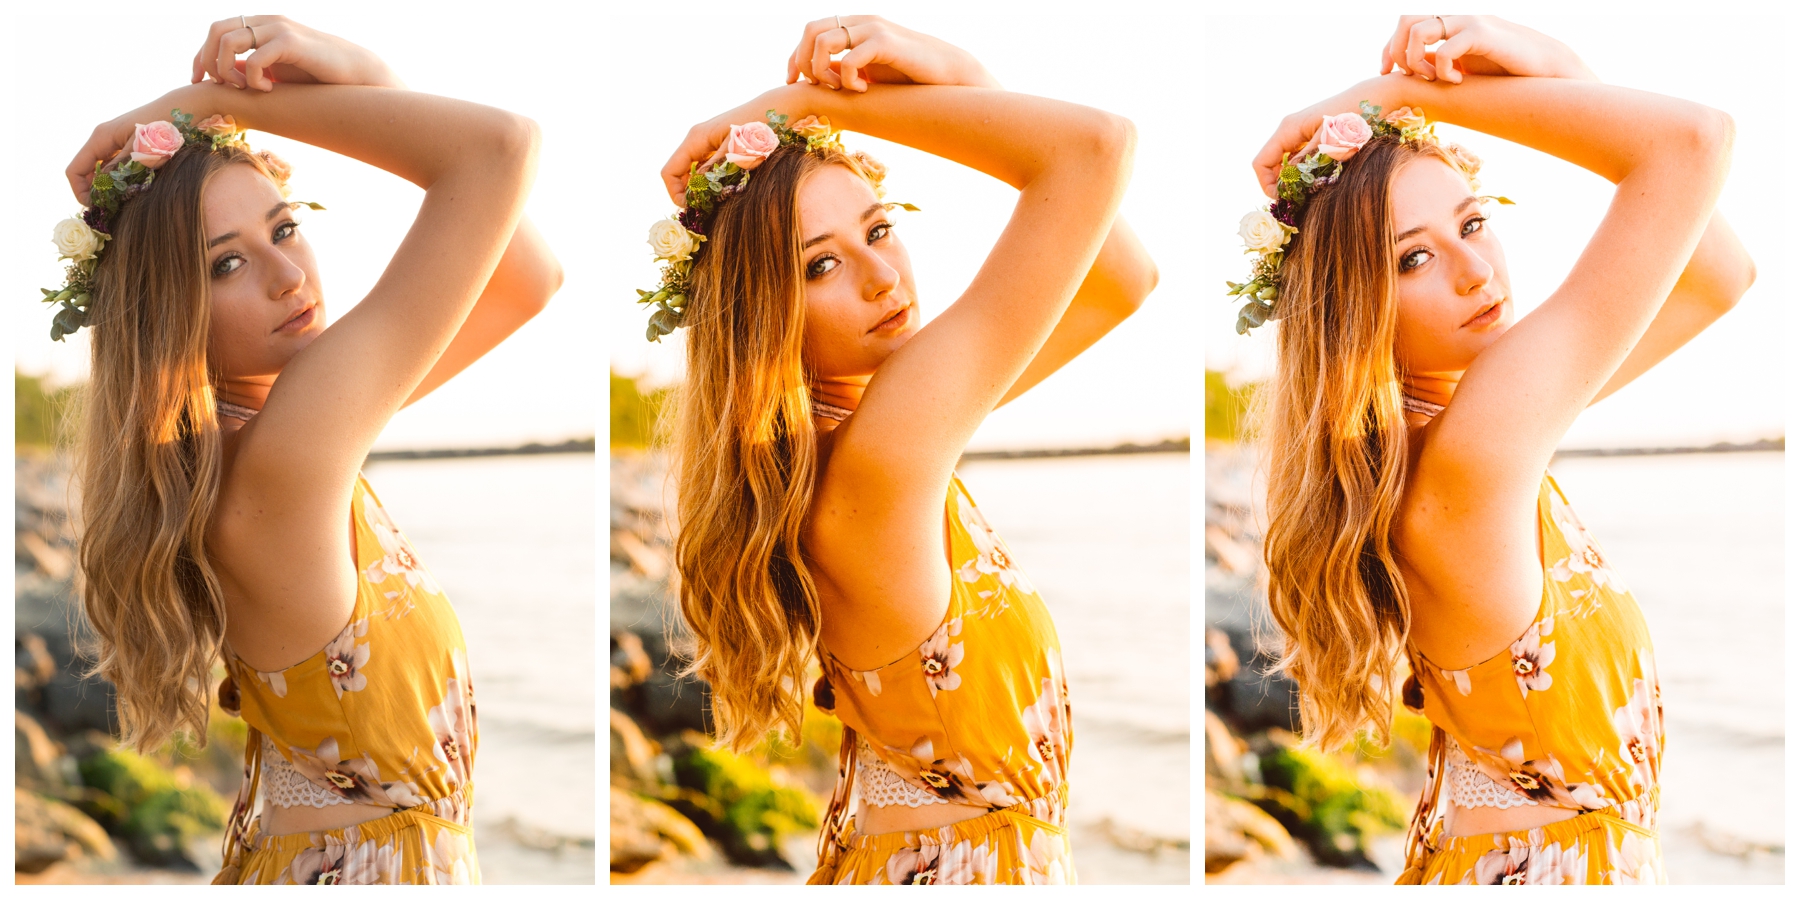
If you reference the photo at the top of this post you can see the straight out of camera image on the left, the preset applied in the middle and then the final image after all the tweaks had been made to the right!
You can also see in the above image that I went through many stages of perfected my self made preset (and excellently named them as well haha). I would tweak a little more each time if I realized I was doing the same thing to pretty much ever image. Such as bringing the contrast up or the highlights down. This way I was one step closer to one click edits.
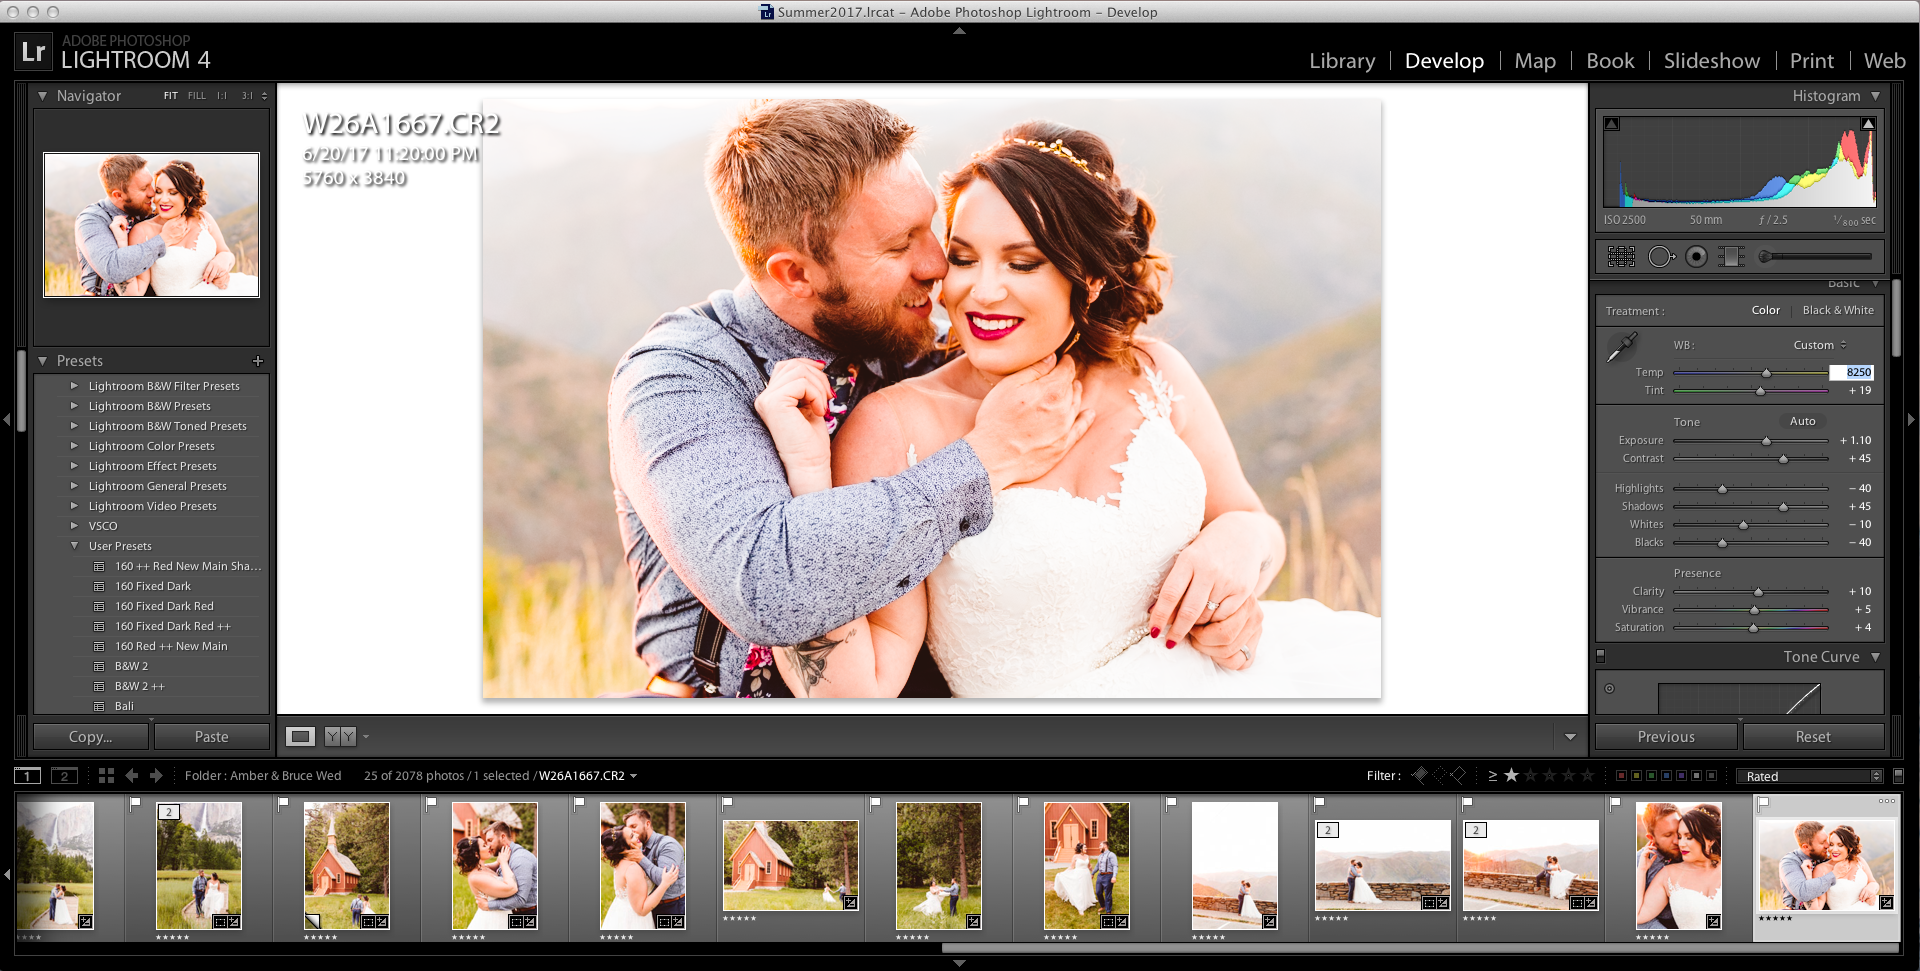
For sessions try “starring” or “rating” in Lightroom for images you want to include in the blog. This is especially helpful for bigger jobs like weddings were the image count may be near the late hundreds or even a thousand, or for sessions where you change locations and outfits. This way when you select all of your favorites you can view just those in a line (like shown above) to focus on matching the edits to the setting next to it. This way you can tell a story in a more cohesive way that flows through all of the locations and moments!
Editing and editing consistently is something that may seem very frustrating and like one of the biggest pain points in your business. So feel free to play with it and have fun! Luckily you are your own boss and you get to decide what you want to do! Don’t let others tell you how it “should” look because there are no rules!
For more tips and free education sign up for my newsletter HERE


Be the first to comment